Seven has just gotten to the point in her potty training that I thought it was necessary to get her some training undies. She goes commando (actually completely bottomless) around the house, and we were putting diapers on her when we went out. But now that she's starting to have less accidents, I wanted to get her some training pants.
I don't know if you've ever tried to buy training pants for a very small 18 month old, but I tell you, they don't exist! You can buy very expensive ($15+ a pair!) training pants online that start around 22 lb, but seven is only 20 lb on a good day. No stores carry anything less than 2T, believe me, I looked.
So instead, I started looking for a sewing pattern, and I luckily came across
this.
Printable? Yes please! I taped all the pieces together, and actually
taped a bit more than she did, but it saved me some sewing in the long
run. I printed them out at 100%, but you could scale them up or down if
you need to.
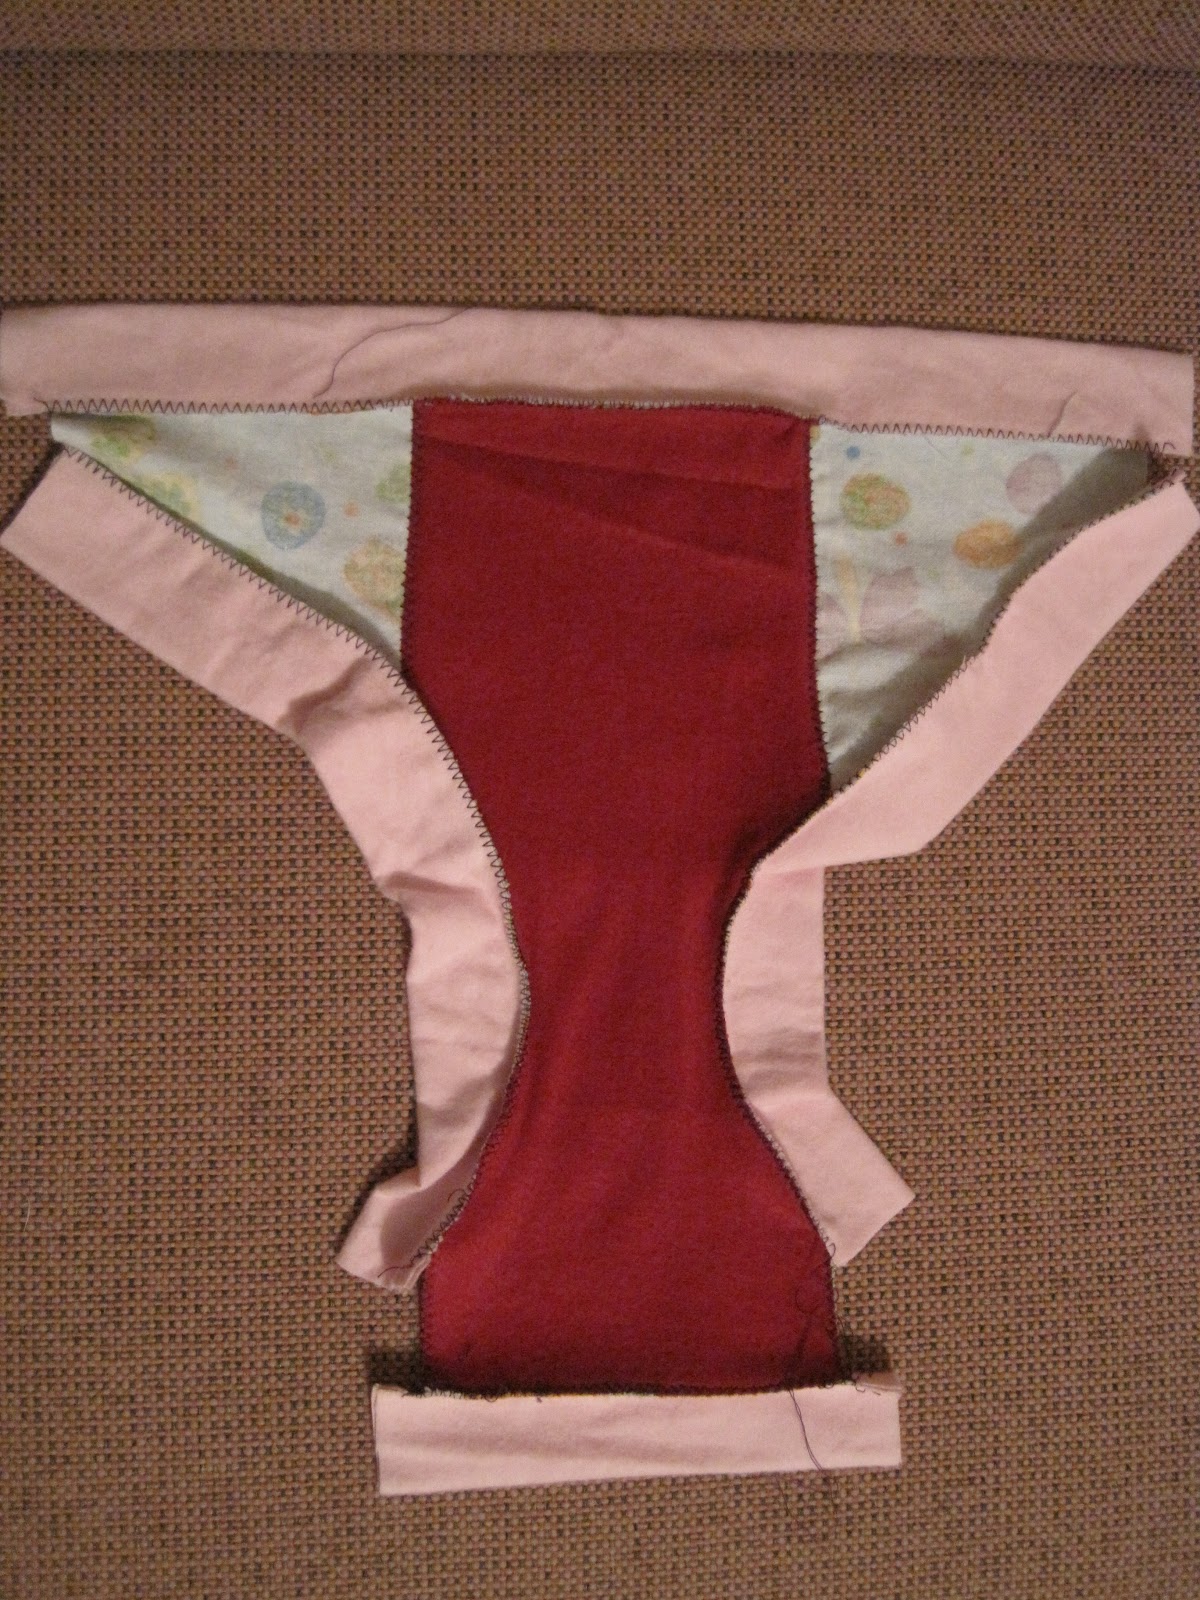
I made
mine with some flannel I had laying around, with a layer of felt on the
inside for extra absorption. I would not recommend it! the flannel
doesn't have any give, and they ended up being a bit tight. When I made
the third pair, I swapped the flannel and the fleece. This worked out a
bit better. The fourth pair I made out of an old t-shirt, with a layer
of flannel inside, and these worked out
perfectly.
I used a zig-zag stitch to attach the two pieces together.
(first pair with no give on the sides)
After making the first pair and them being so loose at the top, I decided to made a band for the waist and legs.
I had some 3/4" elastic that I ran though each one.
This made them fit much better, and made me feel better about accidents.
The first two pairs are wearable, with no growing room.
The third was better.
After I worked out the kinks, one pair took me about an hour from start to finish. I don't have pictures of the final pair, but they aren't nearly as cute anyway :(


